The Panenka Penalty Technique Breakdown: Master the Art of the Chipped Spot-Kick
A complete, practical breakdown of the Panenka penalty technique — from biomechanics and timing to when to use it, common mistakes, and a 4-week practice plan.
What Is a Panenka Penalty?
The Panenka penalty is one of football’s most audacious, elegant, and psychologically charged techniques — a delicately chipped spot-kick that floats slowly down the center of the goal while the goalkeeper dives left or right. Invented by Czech legend Antonín Panenka during the 1976 European Championship final against West Germany, it wasn’t just a goal — it was a statement of nerve, timing, and tactical deception.
Unlike conventional penalties aimed low and hard into the corners, the Panenka relies on precision placement, controlled touch, and supreme confidence. When executed flawlessly, it’s poetry in motion. When missed? It’s often met with stunned silence — or laughter — followed by intense scrutiny.
But here’s the truth: any technically sound player can learn the Panenka. It’s not magic — it’s mechanics, mindset, and method. In this breakdown, we’ll dissect every component so you can add this iconic technique to your arsenal — responsibly, effectively, and with full understanding.
The Mechanics: How the Panenka Actually Works
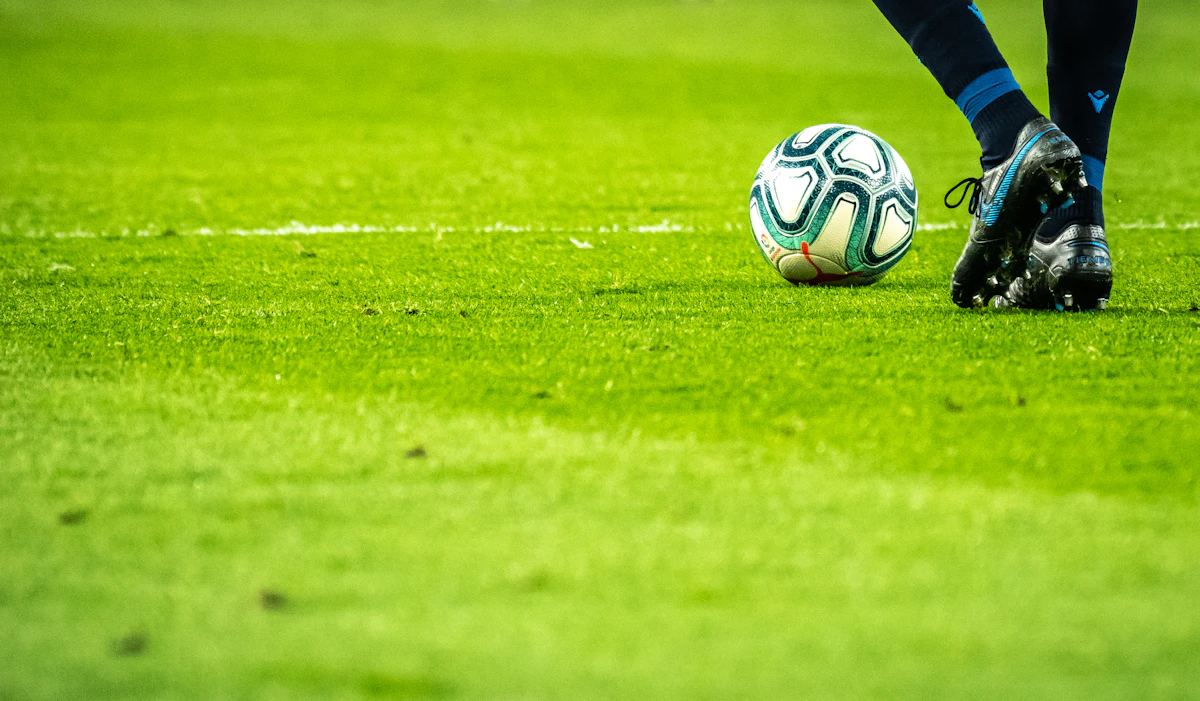
Foot Placement & Contact Point
The foundation of a successful Panenka lies in where and how you strike the ball. You’re not lashing out — you’re guiding.
- Approach: Take 4–5 short, controlled steps — slower than a power penalty. Your last step should be slightly shorter and lighter, allowing your plant foot to settle comfortably about 10–15 cm to the side of the ball (for right-footed players, plant left; vice versa).
- Foot position: Strike with the top of your foot, just below the laces — essentially using the “bridge” between the instep and toes. Avoid the toe poke (too unpredictable) or the sole (too weak). Your ankle must be locked and slightly dorsiflexed (toes pulled up), creating a rigid, upward-facing surface.
- Contact point: Aim for the lower third of the ball — just above its equator. Striking too low sends it skyward; too high, and it rolls meekly forward. Precision here governs trajectory and hang time.
Physics in Practice: Why It Floats
The Panenka works because of backspin and reduced velocity. By striking underneath the ball with a locked, upward-facing foot, you impart significant backspin — causing the ball to rise gently, then decelerate mid-air due to aerodynamic drag and gravity. This creates the signature ‘floating’ effect that unsettles keepers expecting pace or dip.
A well-struck Panenka travels at ~12–15 km/h — less than half the speed of a driven penalty — yet covers the ~11 meters from spot to goal in roughly 1.3–1.6 seconds. That delay is critical: it exploits the keeper’s commitment to lateral movement before the ball even leaves your foot.
💡 Pro Tip: Film yourself practicing. Watch for ankle lock, contact height, and follow-through — which should be upward and gentle, not aggressive. A jerky follow-through kills control.
When (and When Not) to Use a Panenka
Not every moment calls for flair — and using a Panenka recklessly can cost more than a goal. Context matters deeply.
✅ Ideal Situations
- Low-stakes or high-confidence moments: Friendly matches, training, or youth tournaments where psychological growth outweighs scoreboard pressure.
- Late-game tiebreakers: Especially in shootouts where opponents have already revealed keeper tendencies (e.g., consistent dive direction or early commitment).
- Against over-committed or impatient keepers: If you’ve observed your opponent diving within 0.3 seconds of your run-up — a classic tell — the Panenka becomes statistically advantageous.
❌ High-Risk Scenarios to Avoid
- Early in competitive shootouts: First or second kick carries disproportionate weight — a miss demoralizes teammates and emboldens opponents.
- Against elite, experienced keepers: Goalkeepers like Alisson Becker, Jan Oblak, or Yann Sommer study run-up tells and react to micro-delays. They’ve saved Panenkas — sometimes before the ball is struck.
- Poor surface conditions: Wet, soft, or uneven turf reduces control on chip contact and increases slip risk. Stick to driven or placed shots on unreliable surfaces.
📌 Remember: The Panenka isn’t a trick — it’s a tactical tool. Use it like one.
For more insight on decision-making under pressure, explore our guide on football psychology fundamentals.
Step-by-Step Practice Plan (From First Touch to Match-Ready)
Mastering the Panenka takes repetition — but intelligent repetition. Here’s a progressive 4-week plan designed for amateur to semi-pro players:
Week 1: Static Control & Feel
- 3 sets × 10 reps: Tap the ball gently upward from stationary position using top-of-foot contact. Focus only on clean lift and minimal spin.
- Add a small cone or disc placed 1m in front of the ball — aim to land the chip just beyond it. Builds spatial awareness.
Week 2: Run-Up Integration
- Use 3-step approach only. Place ball on penalty spot. Execute slow-motion run-ups, freezing just before contact to check plant foot angle and body posture.
- Then strike — 5 reps per session, prioritizing consistency over height. Target: ball lands softly inside a 1m x 1m square centered on goal.
Week 3: Pressure Simulation
- Introduce mild stressors: time yourself (max 8 seconds from whistle to kick), add verbal distraction (“left!” / “right!”), or have a teammate stand beside the goal as a visual cue.
- Record and review each rep. Note: Does your ankle wobble? Do you rush the final step? Adjust accordingly.
Week 4: Game Context Drills
- Simulate shootout scenarios: alternate between driven penalties and Panenkas. Track success rate and keeper reaction time.
- Try it in small-sided games (e.g., 5v5 with penalty restarts after goals) — real-time decision-making builds authenticity.
🔁 Bonus drill: “The Mirror Panenka” — practice both feet. Even if you’re dominant on one side, training the weaker foot improves overall coordination and opens deceptive options.
For structured skill development across all levels, browse our full Football Skills category.
Common Mistakes — And How to Fix Them
Even elite players misfire. Understanding why helps you course-correct faster.
❌ Mistake 1: Hitting Too Low → Ball Soars Over Bar
Why it happens: Excessive ankle dorsiflexion or striking under the ball’s midpoint. Fix: Place a small coin on top of the ball. Your goal: make contact just below it — not under. Visual feedback accelerates muscle memory.
❌ Mistake 2: Hitting Too High → Ball Rolls Forward Weakly
Why it happens: Striking near the equator or above, or leaning back at contact. Fix: Keep your head over the ball and chest slightly forward. Imagine pushing up and through, not scooping.
❌ Mistake 3: Inconsistent Spin → Ball Wobbles or Knuckles
Why it happens: Unlocked ankle, off-center contact, or rushed follow-through. Fix: Practice barefoot on grass first — feel the exact point of contact. Then replicate in boots. Slow is smooth; smooth is fast.
❌ Mistake 4: Poor Run-Up Rhythm → Missed Timing
Why it happens: Overthinking or inconsistent stride length disrupts kinetic chain. Fix: Count aloud: “One… two… three… lift.” Sync the word “lift” with your contact. Repetition locks rhythm.
Final Thoughts: Respect the Panenka, Not Just the Glamour
The Panenka penalty technique is more than a flashy finish — it’s a synthesis of biomechanics, emotional regulation, and game intelligence. Its enduring appeal lies not in rarity, but in intentionality. Every great Panenka tells a story: of preparation, observation, and poise.
Don’t chase viral moments. Chase mastery — then let the moment choose you.
If you’re serious about refining your entire penalty repertoire — from placement drills to keeper-read strategies — get in touch with our coaching team for personalized video analysis and tailored training plans.
Whether you're mastering the Panenka penalty technique or building foundational control, remember: greatness lives in the details — not the headlines.